Table of contents
No headings in the article.
In modern web development, security is a crucial component of any application. One way to ensure security in a Node.js application is by implementing JSON Web Token (JWT) authentication. In this blog post, we will explore what JWT authentication is and how to implement it in a Node.js application.

What is JWT Authentication?
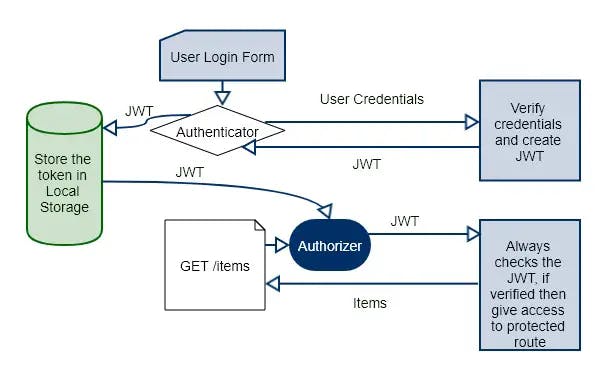
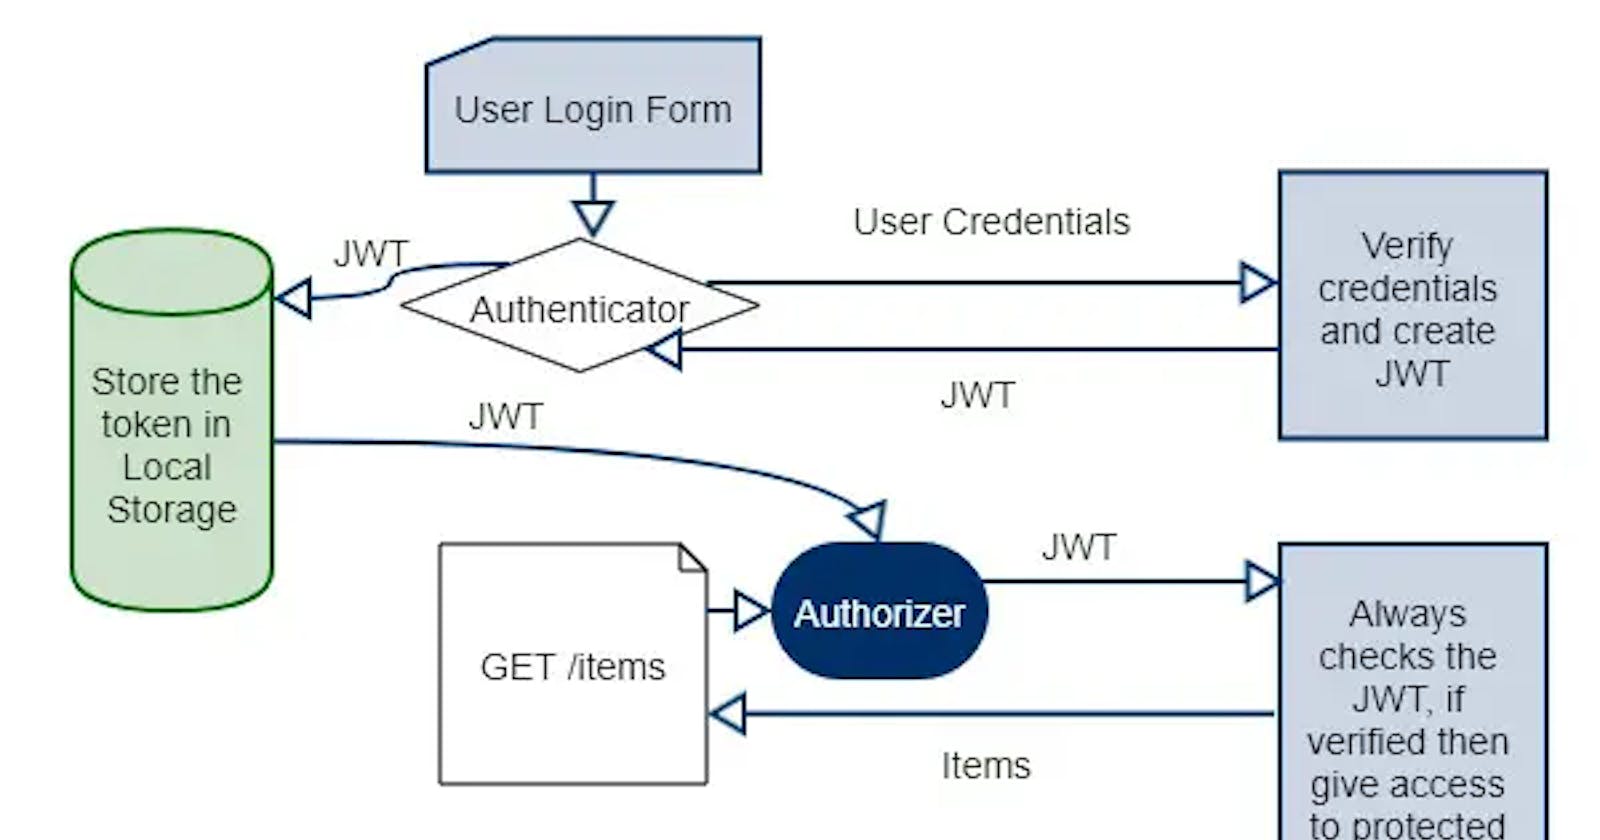
JWT authentication is a popular method for securing web applications. It is a stateless authentication mechanism that uses JSON web tokens to authenticate requests. When a user logs in, the server creates a JSON web token containing a payload that identifies the user. The token is then returned to the client, where it is stored in local storage or a cookie. On subsequent requests, the client sends the token with each request, and the server uses the token to authenticate the user.
Step 1: Install Dependencies
jsonwebtoken: to generate and verify JSON web tokensbcryptjs: to hash and compare passwordsexpress: to create the serverbody-parser: to parse the request bodycors: to enable cross-origin resource sharing
Step 2: Create the Server
Next, we need to create the server. We will use Express to create the server and body-parser to parse the request body. We will also enable cross-origin resource sharing using the cors package. Here's an example of how to create the server:
const express = require('express'); const bodyParser = require('body-parser'); const cors = require('cors');
const app = express();
app.use(bodyParser.urlencoded({ extended: true })); app.use(bodyParser.json()); app.use(cors());
app.listen(3000, () => { console.log('Server started on port 3000'); });
Step 3: Create the User Model
Next, we need to create a user model to store user information in the database. We will use MongoDB as the database and Mongoose as the ORM. Here's an example of how to create the user model:
const mongoose = require('mongoose'); const Schema = mongoose.Schema;
const userSchema = new Schema({ username: { type: String, required: true }, password: { type: String, required: true }, });
module.exports = mongoose.model('User', userSchema);
Step 4: Implement User Registration
Next, we need to implement user registration. When a user registers, we will hash their password using bcryptjs and save their username and hashed password in the database. Here's an example of how to implement user registration:
const bcrypt = require('bcryptjs'); const User = require('./user.model');
app.post('/register', (req, res) => { const { username, password } = req.body;
bcrypt.hash(password, 10, (err, hashedPassword) => { if (err) { return res.status(500).json({ message: 'Internal Server Error' }); }
const user = new User({ username, password: hashedPassword, });
user.save((err, result) => { if (err) { return res.status(400).json({ message: 'Bad Request' }); }
res.status(201).json({ message: 'User created' }); }); }); });
Step 5: Implement User Login
Next, we need to implement user login. When a user logs in, we will compare their hashed password with the hashed password in the database using bcryptjs. If the passwords match, we will generate a JSON web token and send it back to the client. Here's an example of how to implement user login:
const jwt = require('jsonwebtoken');
app.post('/login', (req, res) => { const { username, password } = req.body;
User.findOne({ username }, (err, user) => { if (err) { return res.status(500).json({ message: 'Internal Server Error' }); }
if (!user) { return res.status(401).json({ message: 'Unauthorized' }); }
bcrypt.compare(password, user.password, (err, result) => { if (err) { return res.status(500).json({ message: 'Internal Server Error' }); }
if (!result) { return res.status(401).json({ message: 'Unauthorized' }); }
const token = jwt.sign({ userId: user._id }, 'secret', { expiresIn: '1h' });
res.status(200).json({ message: 'Login successful', token }); }); }); });
Step 6: Implement Protected Routes
Finally, we need to implement protected routes that require authentication. We will use middleware to verify the JSON web token sent by the client. If the token is valid, the middleware will add the user ID to the request object, allowing the route handler to access the user information. Here's an example of how to implement protected routes:
const authMiddleware = (req, res, next) => { const token = req.headers.authorization;
if (!token) { return res.status(401).json({ message: 'Unauthorized' }); }
jwt.verify(token, 'secret', (err, decoded) => { if (err) { return res.status(401).json({ message: 'Unauthorized' }); }
req.userId = decoded.userId; next(); }); };
app.get('/protected', authMiddleware, (req, res) => { User.findById(req.userId, (err, user) => { if (err) { return res.status(500).json({ message: 'Internal Server Error' }); }
if (!user) { return res.status(404).json({ message: 'User not found' }); }
res.status(200).json({ message: 'Protected route accessed', user }); }); });
Conclusion
In this blog post, we explored what JWT authentication is and how to implement it in a Node.js application. By following these steps, you can secure your application and ensure that only authorized users can access protected routes.
